Roads
Index
- Road Construction
- Mattocks
- Base Course
- Pavers
- Hoggin Mix
- Gravel Fill
- Cobble, Sett, & Flagstones
- Concrete
- Asphalt
- Paving Cart
Introduction
Road construction is vital for increasing land-transport efficiency and consists of three basic steps:
- 1: Tamping the native soil with a Mattock.
- 2: Laying down Crushed Base Course.
- 3: Laying the surface Paving Material.
Different varieties of road use different ingredients.
Mattocks
A mattock can be used on dirt-type blocks similarly to a Chisel. When used in the default block mode, a mattock will tamp these blocks down with Right Click. If the mattock was used to tamp mud or muddy roots, the resulting tamped mud must be remediated by applying crushed base course.
Base Course
After the local soil has been tamped down, the next step is to lay a base course for the road. Crushed base course can be crafted with either gravel or stone dust mixed with loose rocks, and can be applied to tamped blocks via Right Click. This base course of crushed rocks creates a sturdy base for the final walking surface to rest upon.
Pavers
The final step in creating a road is laying the road surface. Different items, including Bricks, Hoggin, and Loose Rocks can be applied via Right Click on top of a base course to form a walkable road. Different items result in different varieties of road, and different varieties of road allow for various boosts to walking speeds.
Process of tamping, applying base course, and paving with bricks.
Hoggin Mix
Hoggin is a compactible groundcover made from a mixture of clay, gravel, and sand. It can be applied on a base course to produce a simple path that offers a modest 10% Boost to walking speed and allows Animal Cranks to run at 16RPM.
Road construction via hoggin mix.
Gravel & Macadam
A small amount of Gravel Fill can be applied to a base course to produce a simple path that offers a modest 10% Boost to walking speed. Additional gravel fill can be added and tamped to create a Macadam Road that gives a 20% Speed Boost.
All paving materials above hoggin will allow Animal Cranks to run at 32RPM.
Road construction via gravel fill.
Stone Pavers
Stone Pavers
Stone Pavers
A variety of different stone walking surfaces can be applied over a base course, and all provide a 20% Speed Bonus.
- Cobbled Roads are created by adding Loose Rocks over the base course.
- Sett Roads can be constructed from stone or ceramic Bricks.
- Flagstone Roads can be constructed from stone or sandstone Flagstones.
Road construction via various stone finishes.
Concrete
Concrete roads offer a 30% Movement Speed Bonus when properly constructed. However, road builders must be diligent when constructing concrete roads to prevent them from cracking or being trodden on while wet, as this will remove the speed bonus.
Concrete Road
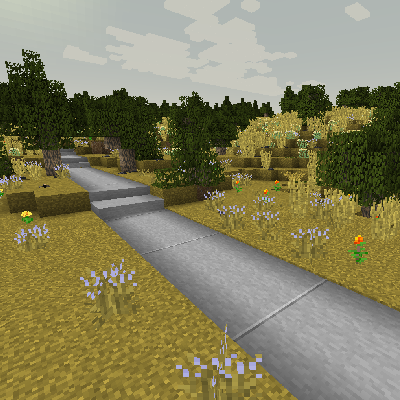
Mixing Concrete
Concrete Roads are poured from Wet Concrete Mix. First, Combine water with stone dusts and a binder such as gypsum or clay to produce Liquid Concrete. Then, dilute the liquid concrete with water to produce Wet Concrete Mix. Ready for pouring.
Once Wet Concrete has been mixed, it can be picked up in a bucket and placed on a Base Course Block where it will spread to adjacent blocks. The concrete will harden after one day, and until it hardens care must be taken that no creatures walk through the wet concrete as this will create an uneven surface that provides no speed bonus. Footprints can be smoothed out with a Mattock.
Pouring Concrete
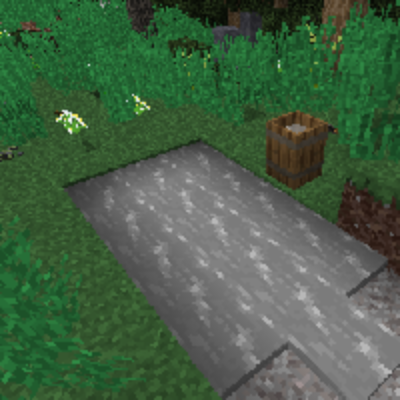
Shrinkage cracking is also a concern as concrete sets. If concrete is poured in areas more than 4x4 blocks wide, blocks that are farther than two blocks from the nearest Edge, Control Joint, or Textured Finish will crack when set. This can be prevented by pouring concrete in smaller areas, using a Mattock to add Control Joints, or by applying a Textured Finish.
Control Joints
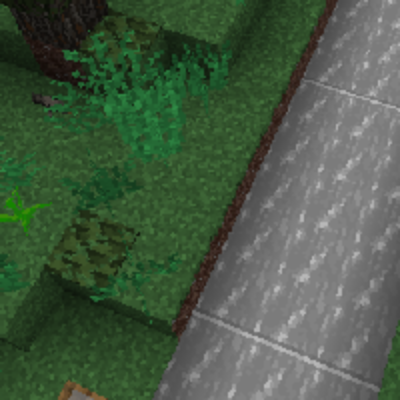
Textured Finishes are created by pressing Bricks, Flagstones, or Smooth Stone Blocks into drying concrete to create an architectural finish. These blocks also act as Control Joints for preventing cracking. Once concrete has finished drying, a Chisel can be used to form slabs and stairs.
Faux Sett Road
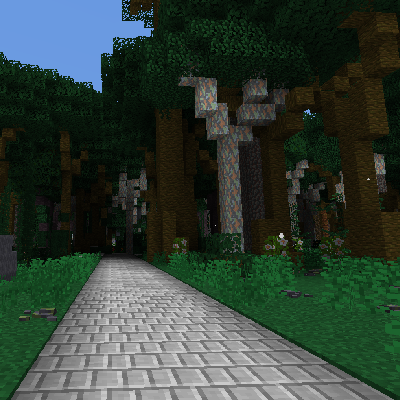
Road construction via concrete pouring.
Asphalt
Asphalt roads are an advanced road type relying on oil and TFG production lines.
After preparing the base course, you can pour Asphalt Mixture over it. It will briefly become Hot Asphalt before solidifying into a durable Asphalt Road.
A properly built asphalt road gives a 40% Movement Speed Bonus.
Asphalt Road
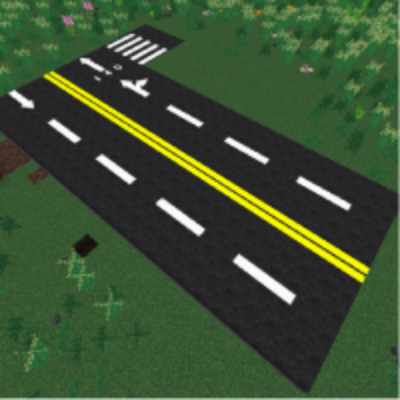
Unlike concrete roads, asphalt does not require control joints and will not crack from wet material or get damaged by walking on uncured pavement.
Be careful when working with Hot Asphalt—touching it will burn you. You'd better wear heat-protective gear. Also, breaking asphalt returns Asphalt Rubble instead of intact road blocks.
Tar Chunk
The raw material for asphalt roads is oil. Solidify Oil, Raw Oil, Heavy Oil, etc. in a Fluid Solidifier to obtain corresponding Tar blocks, then process them in an Extractor to get Tar Chunk.
Asphalt Mixture
In a Mixer, combine Tar Chunks and Stone Dust to make Asphalt Binder. Adding Gilsonite Dust increases the binder yield.
Then mix the binder with sand, stone dust, and Crushed Base to create a fluid Asphalt Mixture.
Store it in a fluid container for easy transport and pouring.
Pouring Asphalt
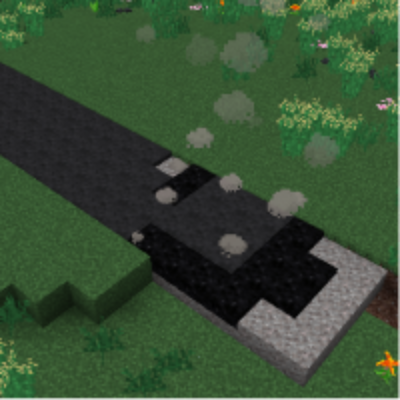
Right Click a placed Base Course Block with a bucket of Asphalt Mixture to pour it. The mixture spreads to adjacent base course blocks, converting up to 20 adjacent base course blocks into Hot Asphalt. After a short time, hot asphalt cools into Asphalt Road. Shift-Right Click on a Base Course Block with the mixture to patch a small area, consuming less fluid.
Hot Asphalt
Hot Asphalt is very hot; touching it will cause ongoing burn damage. Wear heat-protective gear when working with it.
Once it cools into an Asphalt Road, the surface is no longer hot.
Asphalt Road Stairs
Asphalt Road Slab
Asphalt Roads can be turned into Asphalt Road Slabs and Asphalt Road Stairs using a Mattock or a stonecutter.
Road Marking Stencils
The most distinctive customization feature of asphalt roads is road marking: Spray colors and patterns on the finished surface to plan lanes, intersections, and warning lines.
Various stencils can be crafted at an Artisan Table.
Spray Can (White)
Spray Can (Yellow)
Hold a Spray Can in one hand and optionally a Road Marking Stencil in the other, then Right Click on an asphalt road to paint it. The color is determined by the spray can, and the orientation by the player's direction.
Spraying again on an existing marking will replace it and consume spray can durability, unless the same exact layout is used.
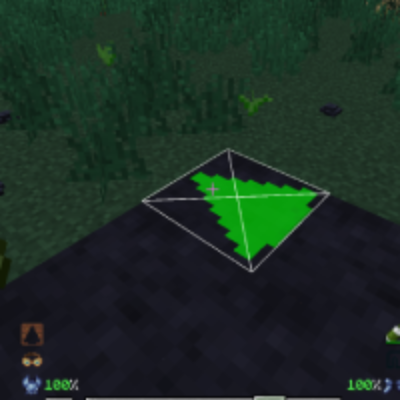
Removing Markings
To redesign the road, use a Spray Can (Solvent) on an asphalt road or slab to erase the marking at that location.
Breaking and Recycling
Breaking asphalt roads, hot asphalt, slabs, or stairs drops Asphalt Rubble instead of the intact block. Processing the rubble in an Extractor recovers a small amount of asphalt mixture.
Paving Cart
The Paving Cart is a specialized cart used for laying down road surfaces quickly and efficiently. It can be filled with Road Materials and Crushed Base Course and then attached to a Horse with Action Key to create roads as you travel. The cart can also fill in any existing base course blocks.
Paving Cart
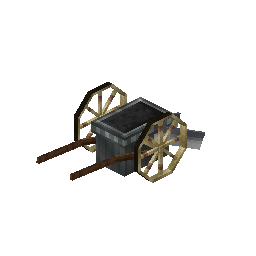
The blades of the paving cart will lower with Right Click indicating that the cart will plow roads when moved.
Width Adjustment Slider
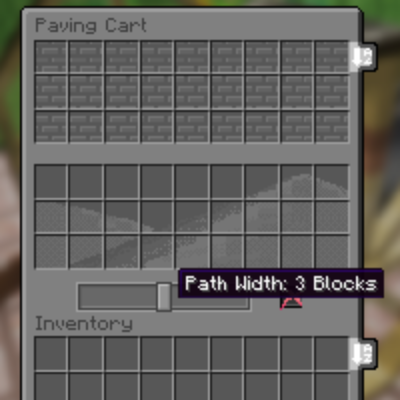
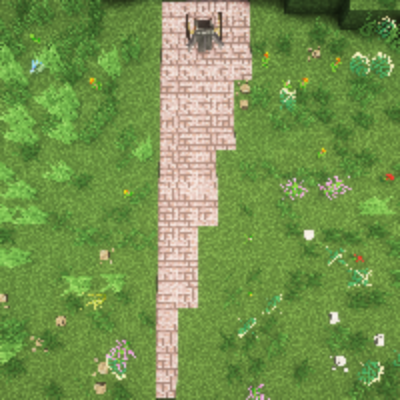
The cart allows you to adjust the width of the path in the GUI, opened with Shift-Right Click.
Variable Width Path
Randomizer Button
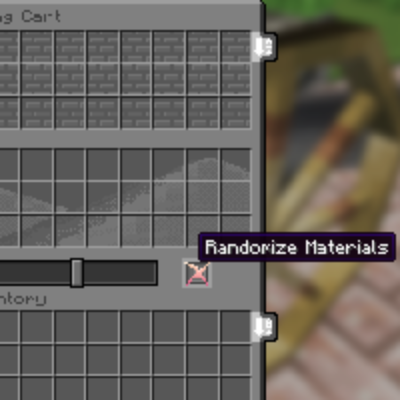
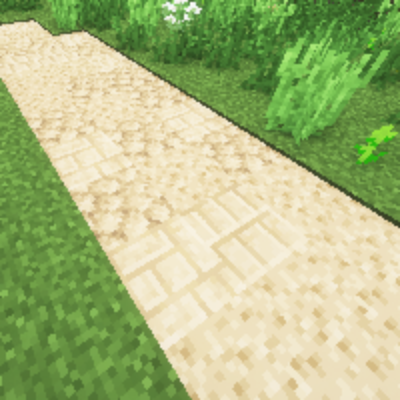
The cart has a mode that will lay down paving materials in a random pattern.
Random Material Path
Comments